Last you heard from my pirate, I had just completed Mooshu and needed a Yellow Windstone. I’m happy to report that I’ve made much progress since then!
The Yellow Windstone was housed in Fort Basset’s vault. Not an easy place to break into, but that’s why I sought out a skilled locksmith for help. It took a bit of work (and convincing), but Lytton agreed to aid me in my quest. He gave me a key which unlocked the sewers that led into Fort Basset’s cellar. I found and grabbed the Yellow Windstone, but I still needed travel papers before I could voyage to Marleybone. I visited the Marleybonian Ambassador in Mooshu to hopefully secure travel papers there, but even that wasn’t so simple. With the ongoing war between Marleybone and Valencia ramping up, Mooshu desired to stay neutral. Luckily, after “helping” the Marleybone tea trade with some assistance from my Yakooza friends, the ambassador was willing to make an exception. To Marleybone!
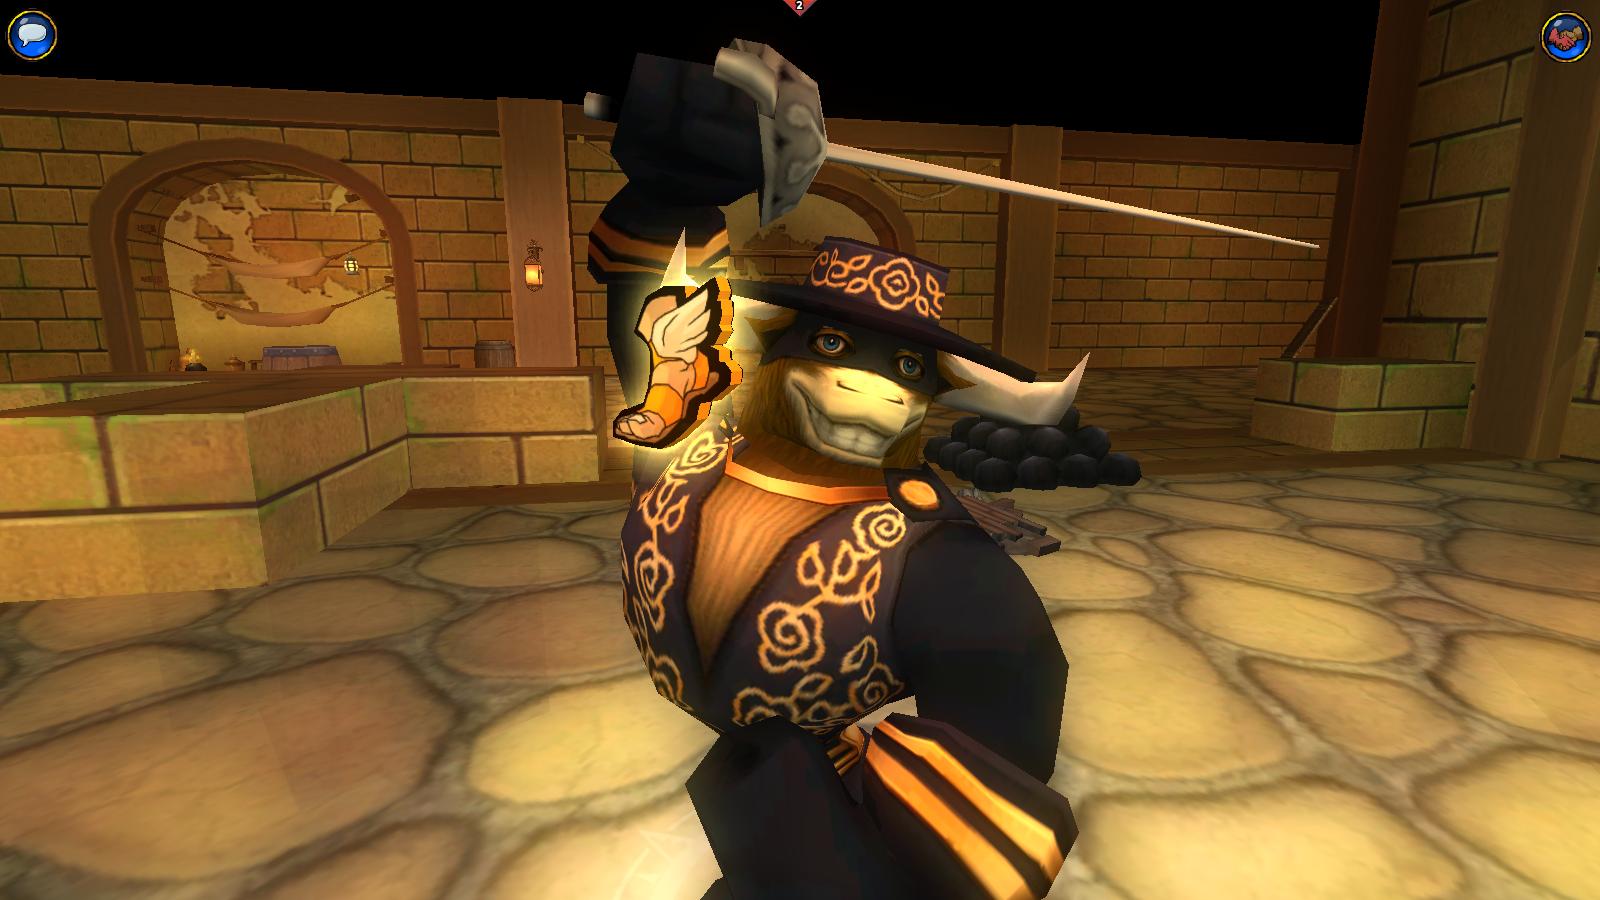
El Toro’s ready!
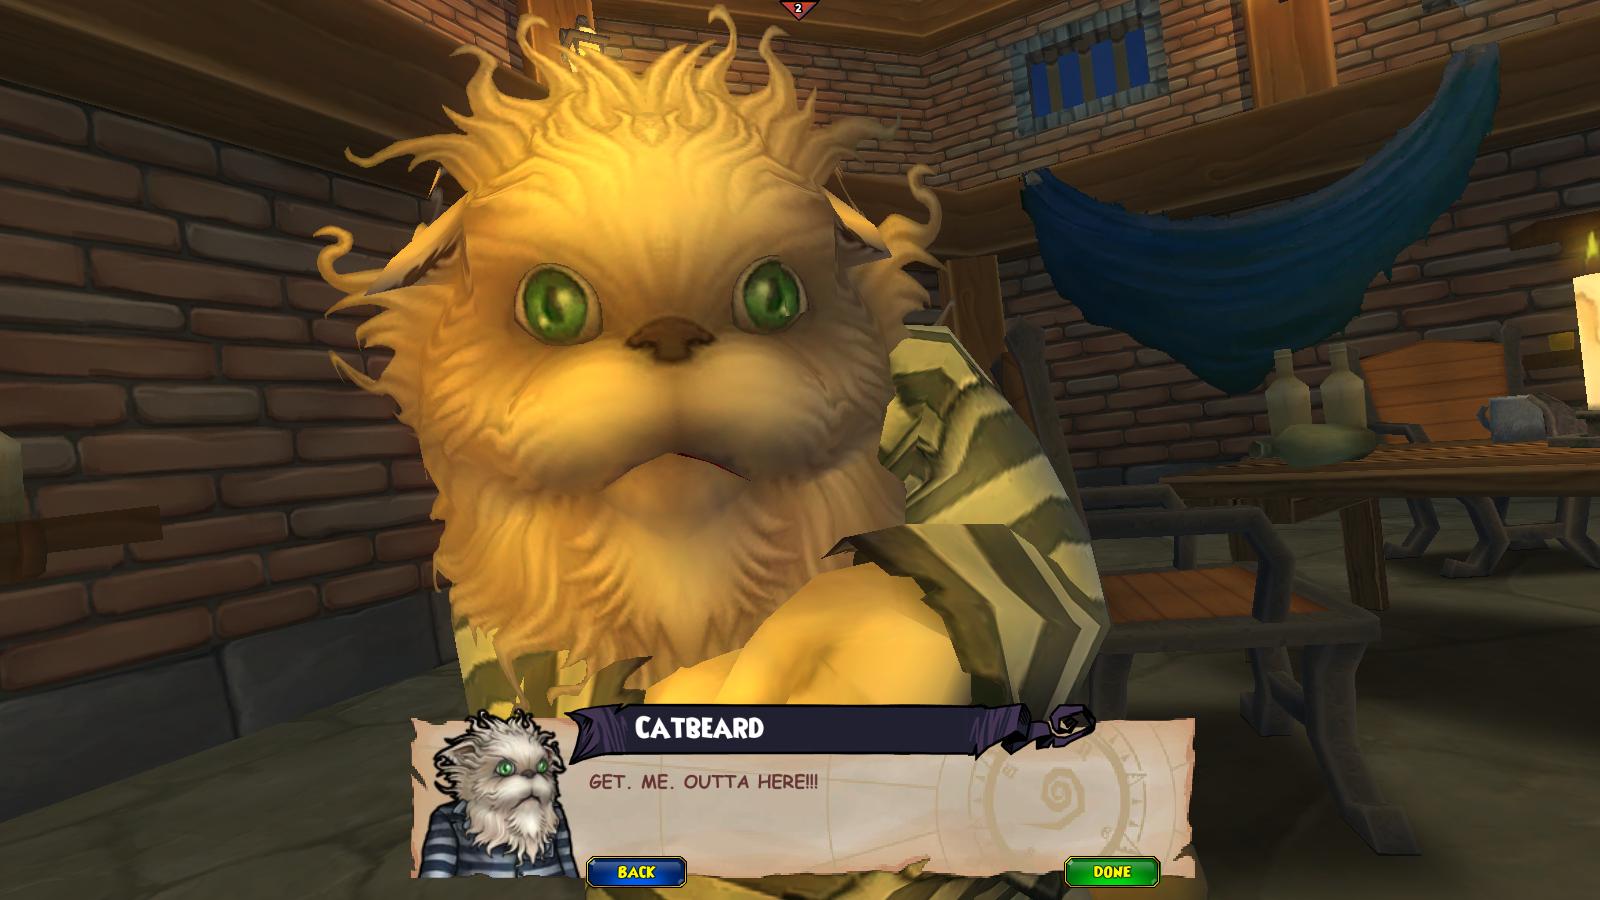
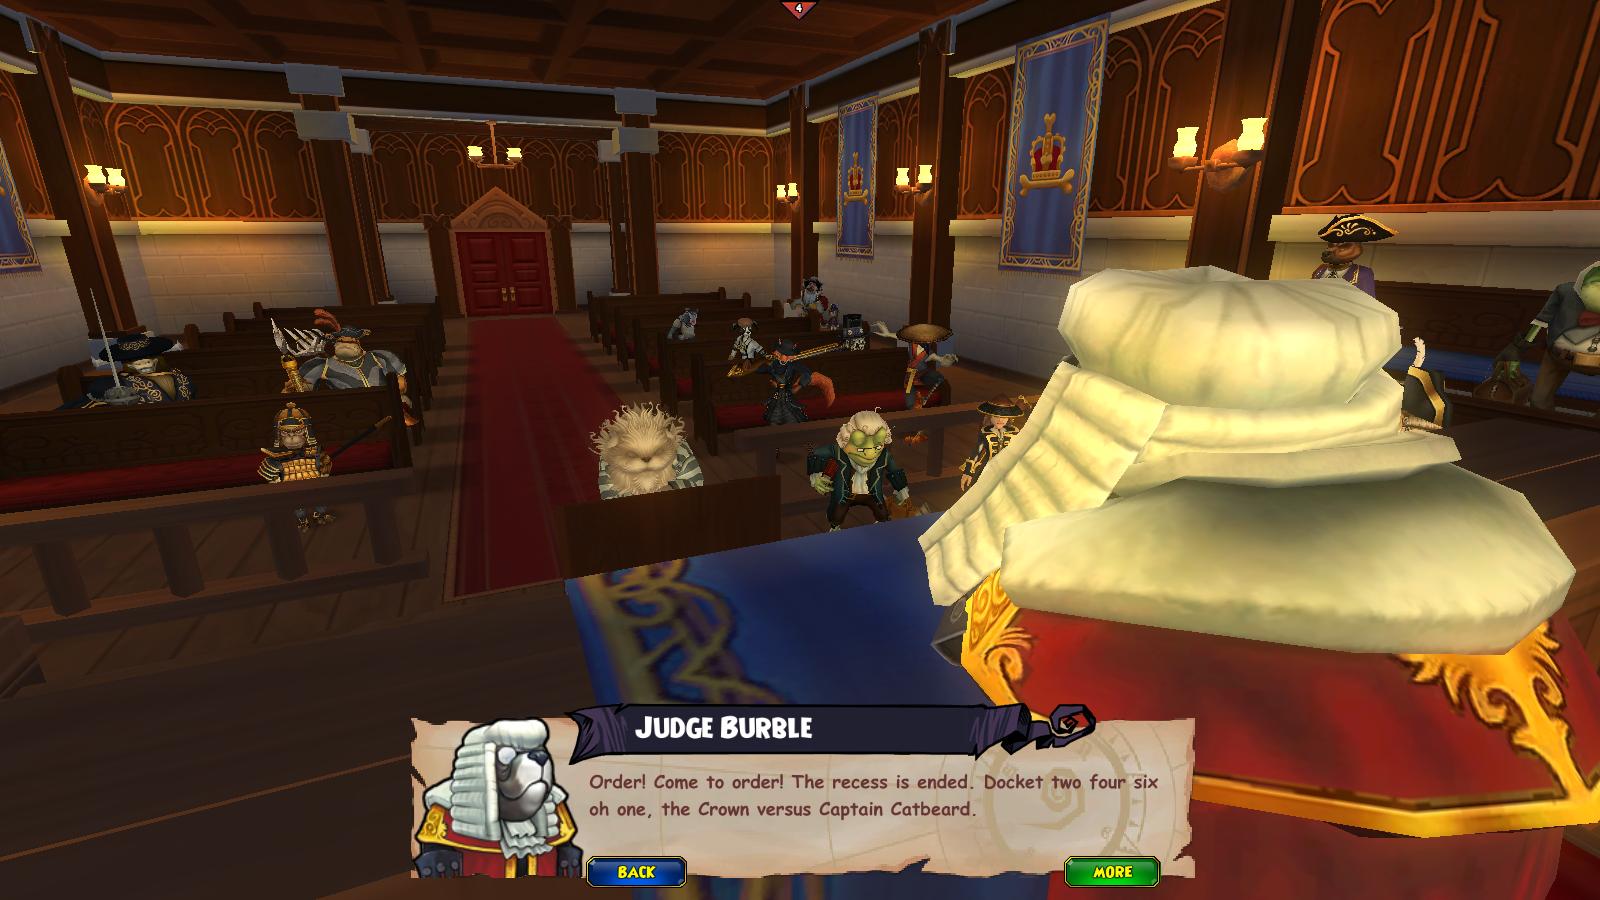
Marleybone is a war-zone alright. The destruction was everywhere, and my crew was partially responsible! After speaking with one of Catbeard’s old shipmates, I discovered that Catbeard was locked up in the Royal Prison, otherwise known as the Glass House. If I wanted to talk to Catbeard, I would need to find his lawyer, Swidget. After setting his nephew on the right path, Swidget reluctantly allowed me to see Catbeard. As expected, that cat was NOT happy. Knowing that I was after his map piece, Catbeard promised to reveal its location if I secured his freedom.
Desperate times call for desperate measures.
Due to an emergency decree, any sailor could be released (on parole) into the custody of a captain in the Royal Navy. Therefore, all I needed to do was get a commission as an irregular captain of the Royal Navy. Get the commision, get Catbeard. Simple! Or not …
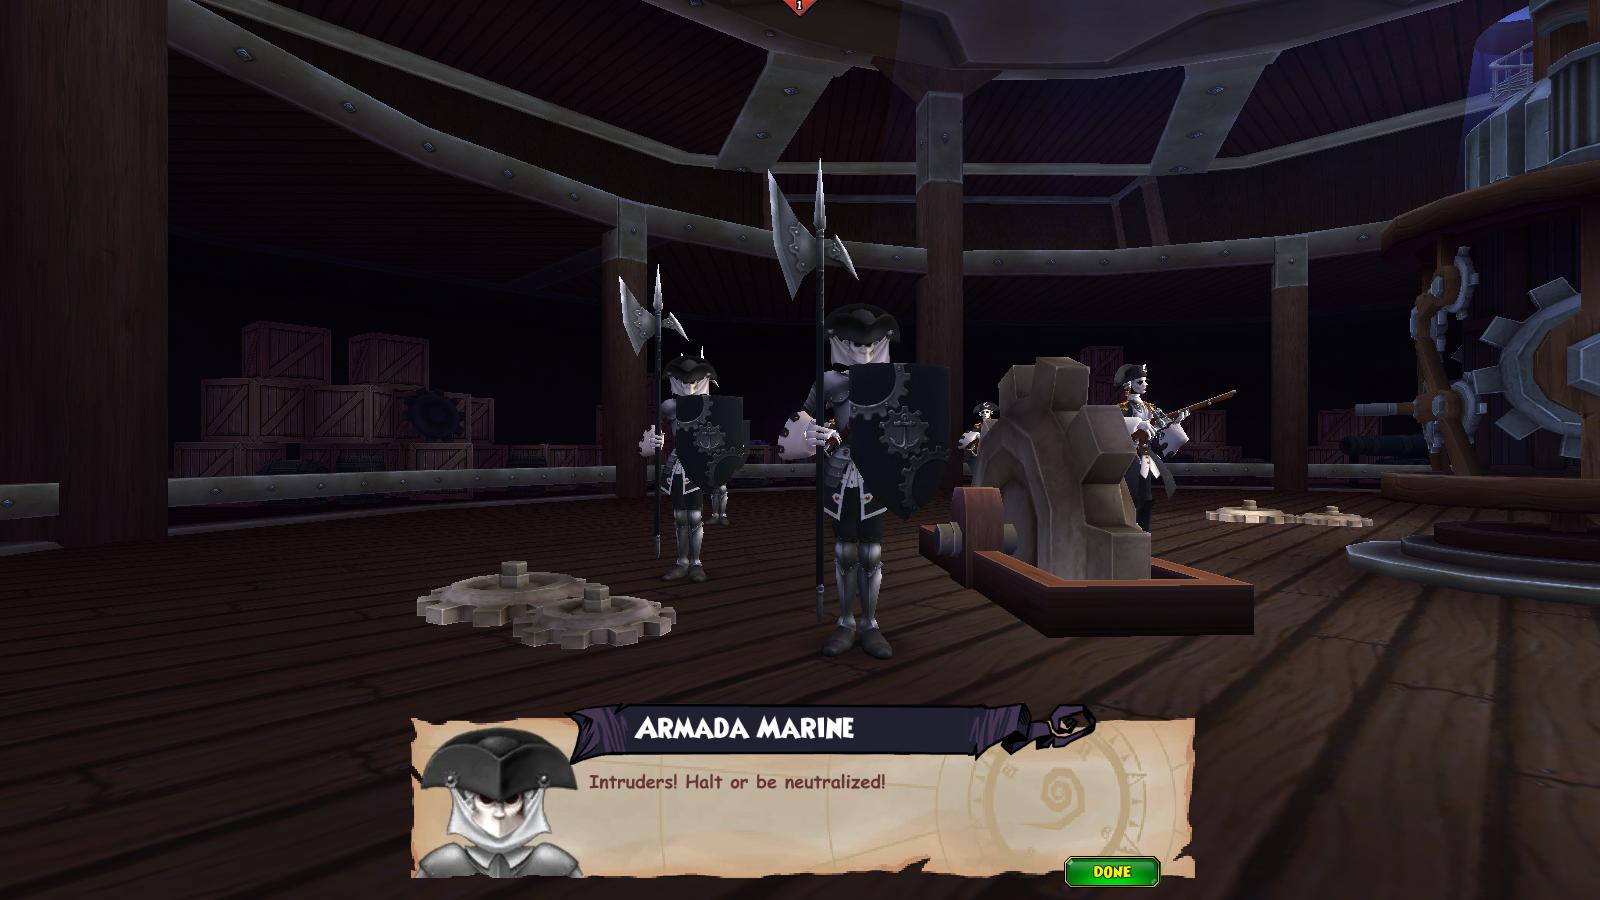
There’s always something in the way.
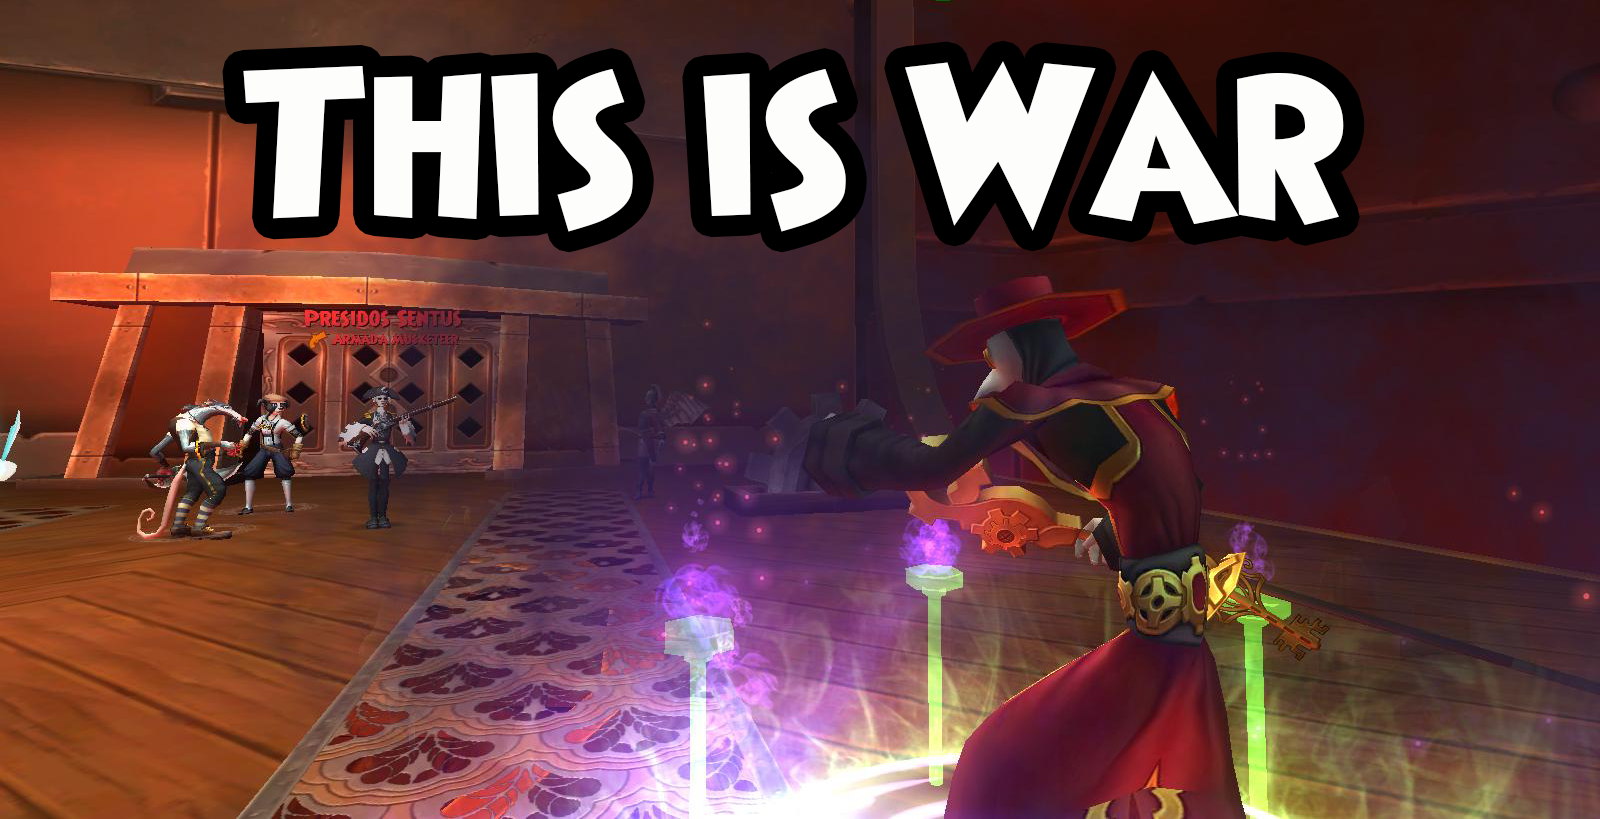
Apparently, the Royal Navy wasn’t just handing out commisions – I would need to prove myself and earn it. My first mission would be to dismantle a heavily armored clockwork station called Beachhead. During my assault, I discovered some very interesting information. The Armada planned to surprise Marleybone with an attack from Mooshu while the Royal Navy’s attention was on the falling Isle of Fetch. Oh, and Bishop, the Armada’s mad tinkerer, seems to be fascinated with some clockwork birds.
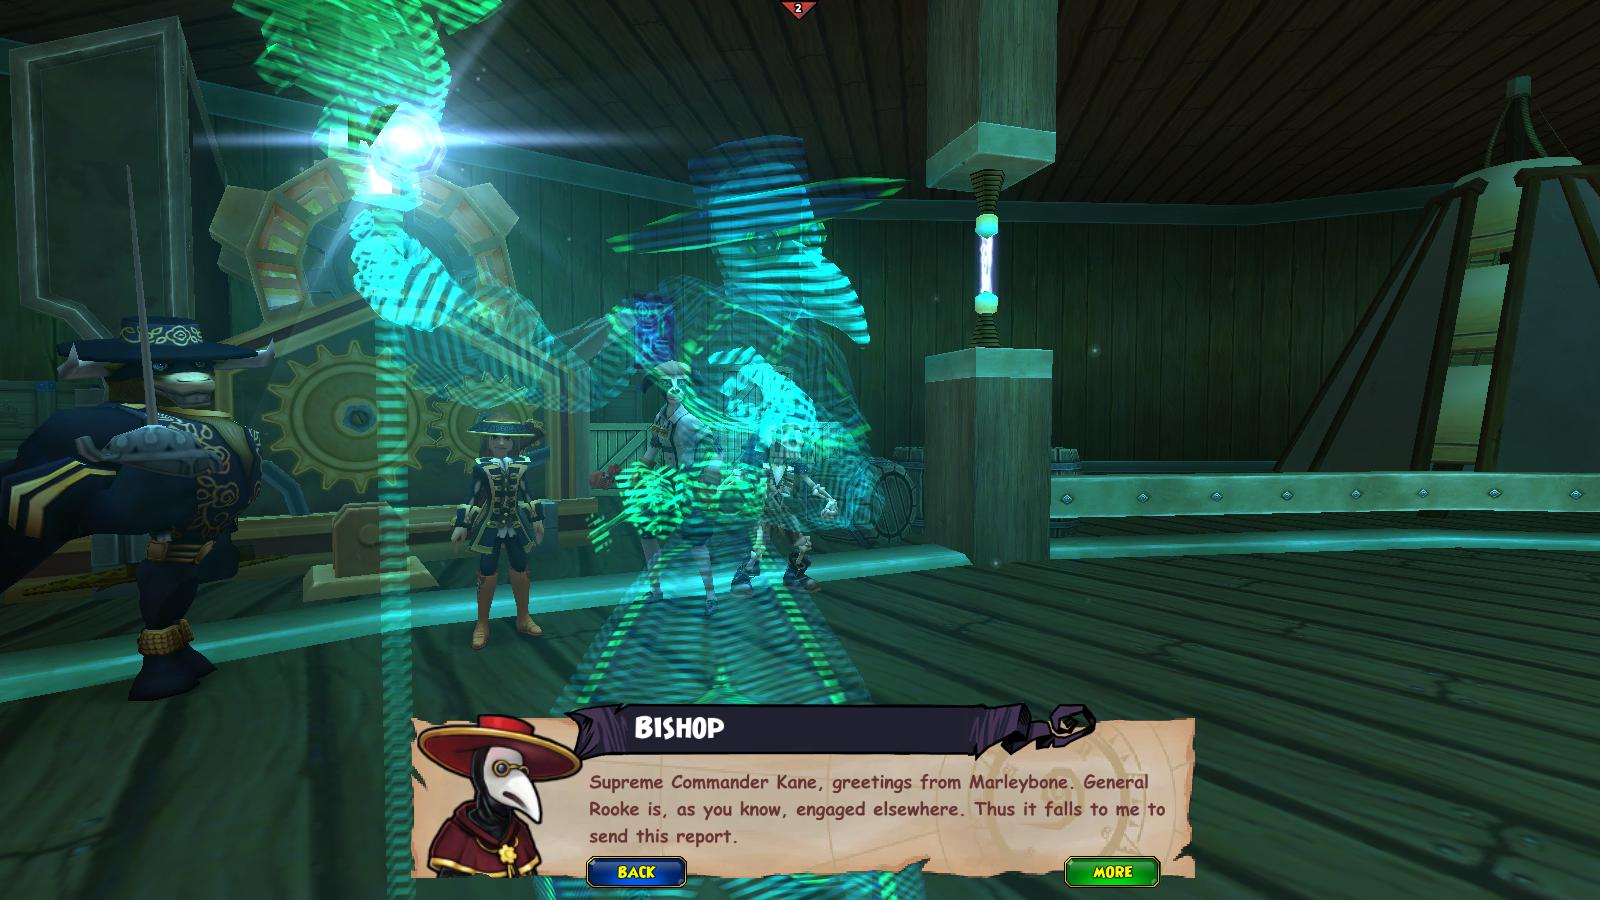
And it falls to me to stop you.
After successfully destroying Beachhead, I took care of a ration dispute and helped the Royal Army finish their War Machines. Not easy I might add! But now came the real challenge. Admiral Nelson managed to catch the Armada fleet by surprise, but neither him or Rooke came out of the Trafalgar Vortex. I went in to aid him.
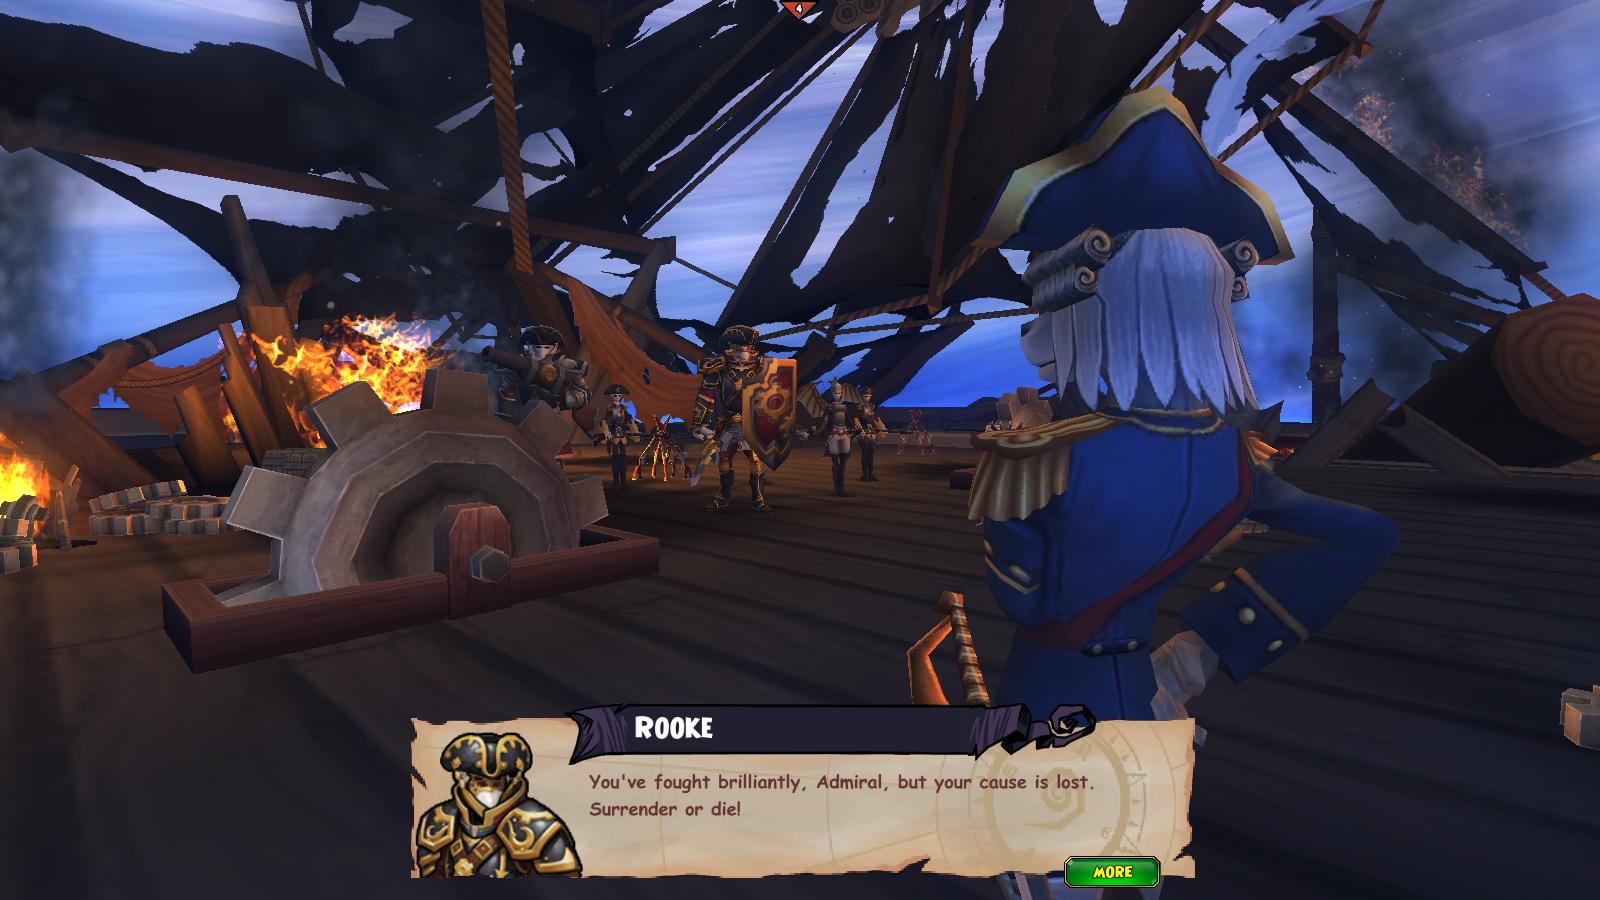
How about C: None of the Above!
Rooke put up a good fight, but I ultimately destroyed him and his ship. That was a big victory for Marleybone, and an even bigger victory for me. With Rooke defeated, the Royal Navy gave me the commision I was looking for. Swidget handled the rest and Catbeard became a free feline! Unfortunately, it turns out that he wasn’t completely honest about his map piece’s whereabouts. Catbeard lost his piece of Marco Pollo’s map in a wager to Captain Gunn. That meant his map piece was already in my possession … sigh.
You’re welcome, Catbeard.
All isn’t lost though. Catbeard claims that I can find the next map piece in Aquila. Guess I’ll just have to see about that.