Happy National Space Day! Gazing up at the spiral’s many skies can be quite relaxing. Marleybone’s Regent’s Square offers plenty of glowing stars, Baobab Crossroads is lit by the beautiful sunrise, while Castle Darkmoor has a moon so bright and bold you may just want to howl at it. The stars, the moon, the sun, in this game they are more than just pretty sights — they hold power. The astral schools (Sun, Star, and Moon) are supplementary schools of magic that can aid you in battle. However, which ones are worth it?
Sun School
Sun spells are enchants, meaning that they affect already existing spells in your deck. To use one during battle, click on your enchant and then on the spell you want to use it on. This will turn both cards into one with a golden hue.
What To Train:
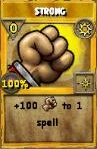
Strong-Colossal
![]()
- Strong: +100 damage to 1 spell
- Requirements: Level 50
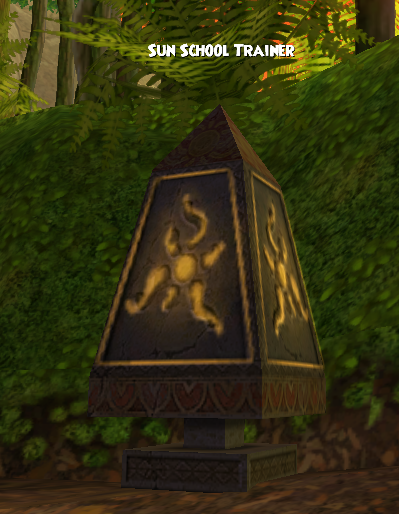
- Where to get it: Celestia Base Camp Sun School Trainer
- Giant: +125 damage to 1 spell
- Requirements: Level 52, Strong
- Where to get it: Celestia Base Camp Sun School Trainer
- Monstrous: +175 damage to 1 spell
- Requirements: Level 56, Strong, Giant
- Where to get it: Floating Land Sun School Trainer
- Gargantuan: +225 damage to 1 spell
- Requirements: Level 58, Strong, Giant, Monstrous
- Where to get it: Floating Land Sun School Trainer
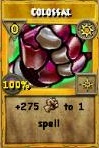
- Colossal: +275 damage to 1 spell
- Requirements: Level 64, Strong, Giant, Monstrous, Gargantuan
- Where to get it: Drum Jungle Sun School Trainer
All spells strong through colossal are damage enchants and can make a huge difference in battle. Colossal is currently the strongest damage enchant, but you must train the previous damage enchants in order before you can get it. It may seem like a lot of training points, but it’s worth it! More damage, more damage!
Primordial (For Life Wizards and Those Who Play Support A Lot)

- Primordial: +100 to 1 healing spell
- Requirements: Level 86
- Where to get it: Three Points Sun School Trainer
This enchant works a lot like colossal, but for heals. Life wizards will get a lot of use out of this spell, and support players who find themselves healing a great deal may also find it handy.
Sharpened Blade
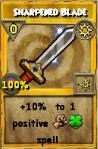
- Sharpened Blade: +10% to 1 blade
- Requirements: Level 86
- Where to get it: Three Points Sun School Trainer
Make your blades more powerful with sharpened blade! The best part about this enchant is that blades you sharpen will stack with the original version. This leads to more buffs and firepower!
Potent Trap
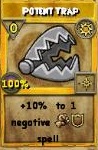
- Potent Trap: +10% to 1 trap
- Requirements: Level 86
- Where to get it: Three Points Sun School Trainer
While most people use blades more than they do traps, potent is still a great spell to have in your arsenal. As KingsIsle throws more and more tricky bosses our way, trap stacking will become even more essential. For example, the latest key boss in Polaris, Omen Stribog, is most quickly dealt with if teams trap stack the dark sentinel. You can read more about that strategy here. With potent trap trained, you’ll have more traps available to you and your team when the going gets tough.
Star School
Star school spells are also known as “auras” and give you stat boosts for 4 rounds.
What To Train:
Amplify
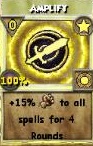
- Amplify: +15% to all damage spells for 4 rounds
- Requirements: Level 52
- Where to get it: Celestia Base Camp Star School Trainer
Until you have access to the school specific damage auras, amplify is a fantastic spell to have (who doesn’t like damage boosts?!). Make sure you cast it close to when you plan on hitting, or it may expire before you get the chance to make use of it!
School Specific Damage Auras

- (Storm) Galvanic Field: +25% outgoing storm damage, +5% accuracy, and +10% incoming myth damage for 4 rounds
- (Ice) Sleet Storm: +25% outgoing ice damage, +5% accuracy, and +10% incoming fire damage for 4 rounds
- (Fire) Furnace: +25% outgoing fire damage, +5% accuracy, and +10% incoming ice damage for 4 rounds
- (Myth) Reliquary: +25% outgoing myth damage, +5% power pip chance, and +10% incoming storm damage for 4 rounds
- (Death) Virulence: +25% outgoing death damage, +5% power pip chance, and +10% incoming life damage for 4 rounds
- (Life) Devotion: +25% outgoing life damage, +5% power pip chance, and +10% incoming death damage for 4 rounds
- (Balance) Chastisement: +25% outgoing balance damage, +5% power pip chance, and +5% incoming storm, fire, and ice damage for 4 rounds
- (Balance) Punishment: +25% outgoing balance damage, +5% power pip chance, and +5% incoming myth, life, and death damage for 4 rounds
- Requirements (for all of the above): Level 84
- Where to get them: Three Points Star School Trainer
These work just like amplify, but they supply an extra 10% boost as well as increase your power pip chance or accuracy (which is always nice). The only downside is that the boost comes at a cost to you – you’ll be more vulnerable to certain attacks. Despite the slight risk, these spells are well worth it. After all, your outgoing is still significantly larger than your expected incoming.
The “Maybes”:
These are the auras that may be worth it to train depending on your situation.
Conviction
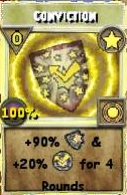
- Conviction: +90% stun resistance and +20 critical block for 4 rounds
- Requirements: Sergeant Arena Rank
- Where to get it: Diego the Duelmaster
Conviction increases your critical block and stun resistance. Many people take advantage of conviction in PvP to prevent untimely stuns. Aside from a few cheating bosses, conviction isn’t often a necessity when questing. For this reason, I would only recommend training conviction if you actively participate in PvP. Otherwise, conviction is usually readily available in the bazaar for whenever you might need it.
Infallible
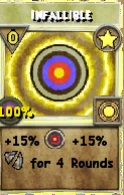
- Infallible: +15% accuracy and +15% armor piercing for 4 rounds
- Requirements: Level 54
- Where to get it: The Stellarium Star School Trainer
Similar to conviction, PvP folks may find training this spell useful. Certain dungeons like the Graveyard and The Rat could benefit from increased pierce, but the TC version works just as well. Unless you consistently cast this spell, I would recommend foregoing the trained version and just buy TCs. Besides, most people prefer shadow shrike over infallible at the higher levels.
Berserk

- Berserk: +40% incoming damage and +30% outgoing damage for 4 rounds
- Requirements: Level 66
- Where to get it: Zamunda Star School Trainer
Berserk is an aura that greatly increases your outgoing damage at a huge risk to you. While your outgoing damage is increased by 30% (5% more than the school specific damage auras), your incoming damage is increased by 40%. In other words, the boost you’re dealing out is less than the boost you’re taking in. If you feel that you can take out your opponents before the added incoming damage adds up, this spell may be for you (although I wouldn’t use it in PvP personally–just questing).
Mend/Cycle of Life


- Mend: +20% outgoing heal for 4 rounds
- Requirements: Level 66
- Where to get it: Zamunda Star School Trainer
- Cycle of Life: +25% outgoing heal, +5% power pip chance, and +10% incoming death damage for 4 rounds
- Requirements: Level 84
- Where to get it: Three Points Star School Trainer
Although a healing boost aura could be great for life wizards and those who play support, it may not be that practical. Unlike a sun enchant like primordial that you can use at any time, mend/cycle of life require that you cast them beforehand in order to get the advantages. In a life or death situation, you’ll most likely just want to heal straight away – not put up an aura first. After all, waiting a round to put up a healing aura could result in the death of one of your teammates. Auras require timing. Despite usually having an idea of when you’re going to hit, healing can be hit or miss. In order for either of these spells to be useful, you would need to know when you’re going to heal beforehand.
Moon School
Moon spells are polymorphs. Each polymorph lasts 6 rounds and all your stats will completely change including your health, deck, resists, and boosts. Once you cast a polymorph, you’ll have to stay in that state until all 6 rounds pass.
What To Train:
None
I don’t recommend anyone train the polymorph spells. You’re much better off using your regular school attacks to get the job done. Sacrificing your stats to look like another creature is fun, but not very efficient. If you are ever tempted to try polymorphs, pick up a few from the bazaar. Don’t waste your training points!

Keep in mind that these are just my recommendations. You could possibly feel differently, and that’s okay! If you stumble upon a strategy that works for you, that’s awesome … keep doing it! Part of the fun is figuring out what works for you and rolling with it. Space has infinite possibilities, and so does play-style. ;)